Who we are
Nick's Electronics has proudly served the community for over 30 years, offering expert electronic repair services with unmatched quality and reliability. Our commitment to excellence and decades of experience make us the trusted choice for restoring your devices to peak performance. At Nick's Electronics, customer satisfaction is our top priority, and we take pride in delivering solutions you can depend on.

Poor-quality or improperly applied CPU thermal paste can lead to inadequate heat transfer between the CPU and the cooler. This results in higher operating temperatures, which can cause thermal throttling, reducing system performance and potentially shortening the lifespan of the CPU. Persistent overheating can also lead to system instability, crashes, and, in severe cases, permanent hardware damage. Using high-quality thermal paste and ensuring proper application is essential for maintaining optimal CPU performance and longevity.

Small PC board repair involves identifying and fixing issues such as damaged traces, faulty components, or poor solder connections on circuit boards. This delicate process requires precision tools, steady hands, and expertise in diagnostics and soldering. Proper repair can restore functionality, extend the life of the device, and reduce electronic waste.
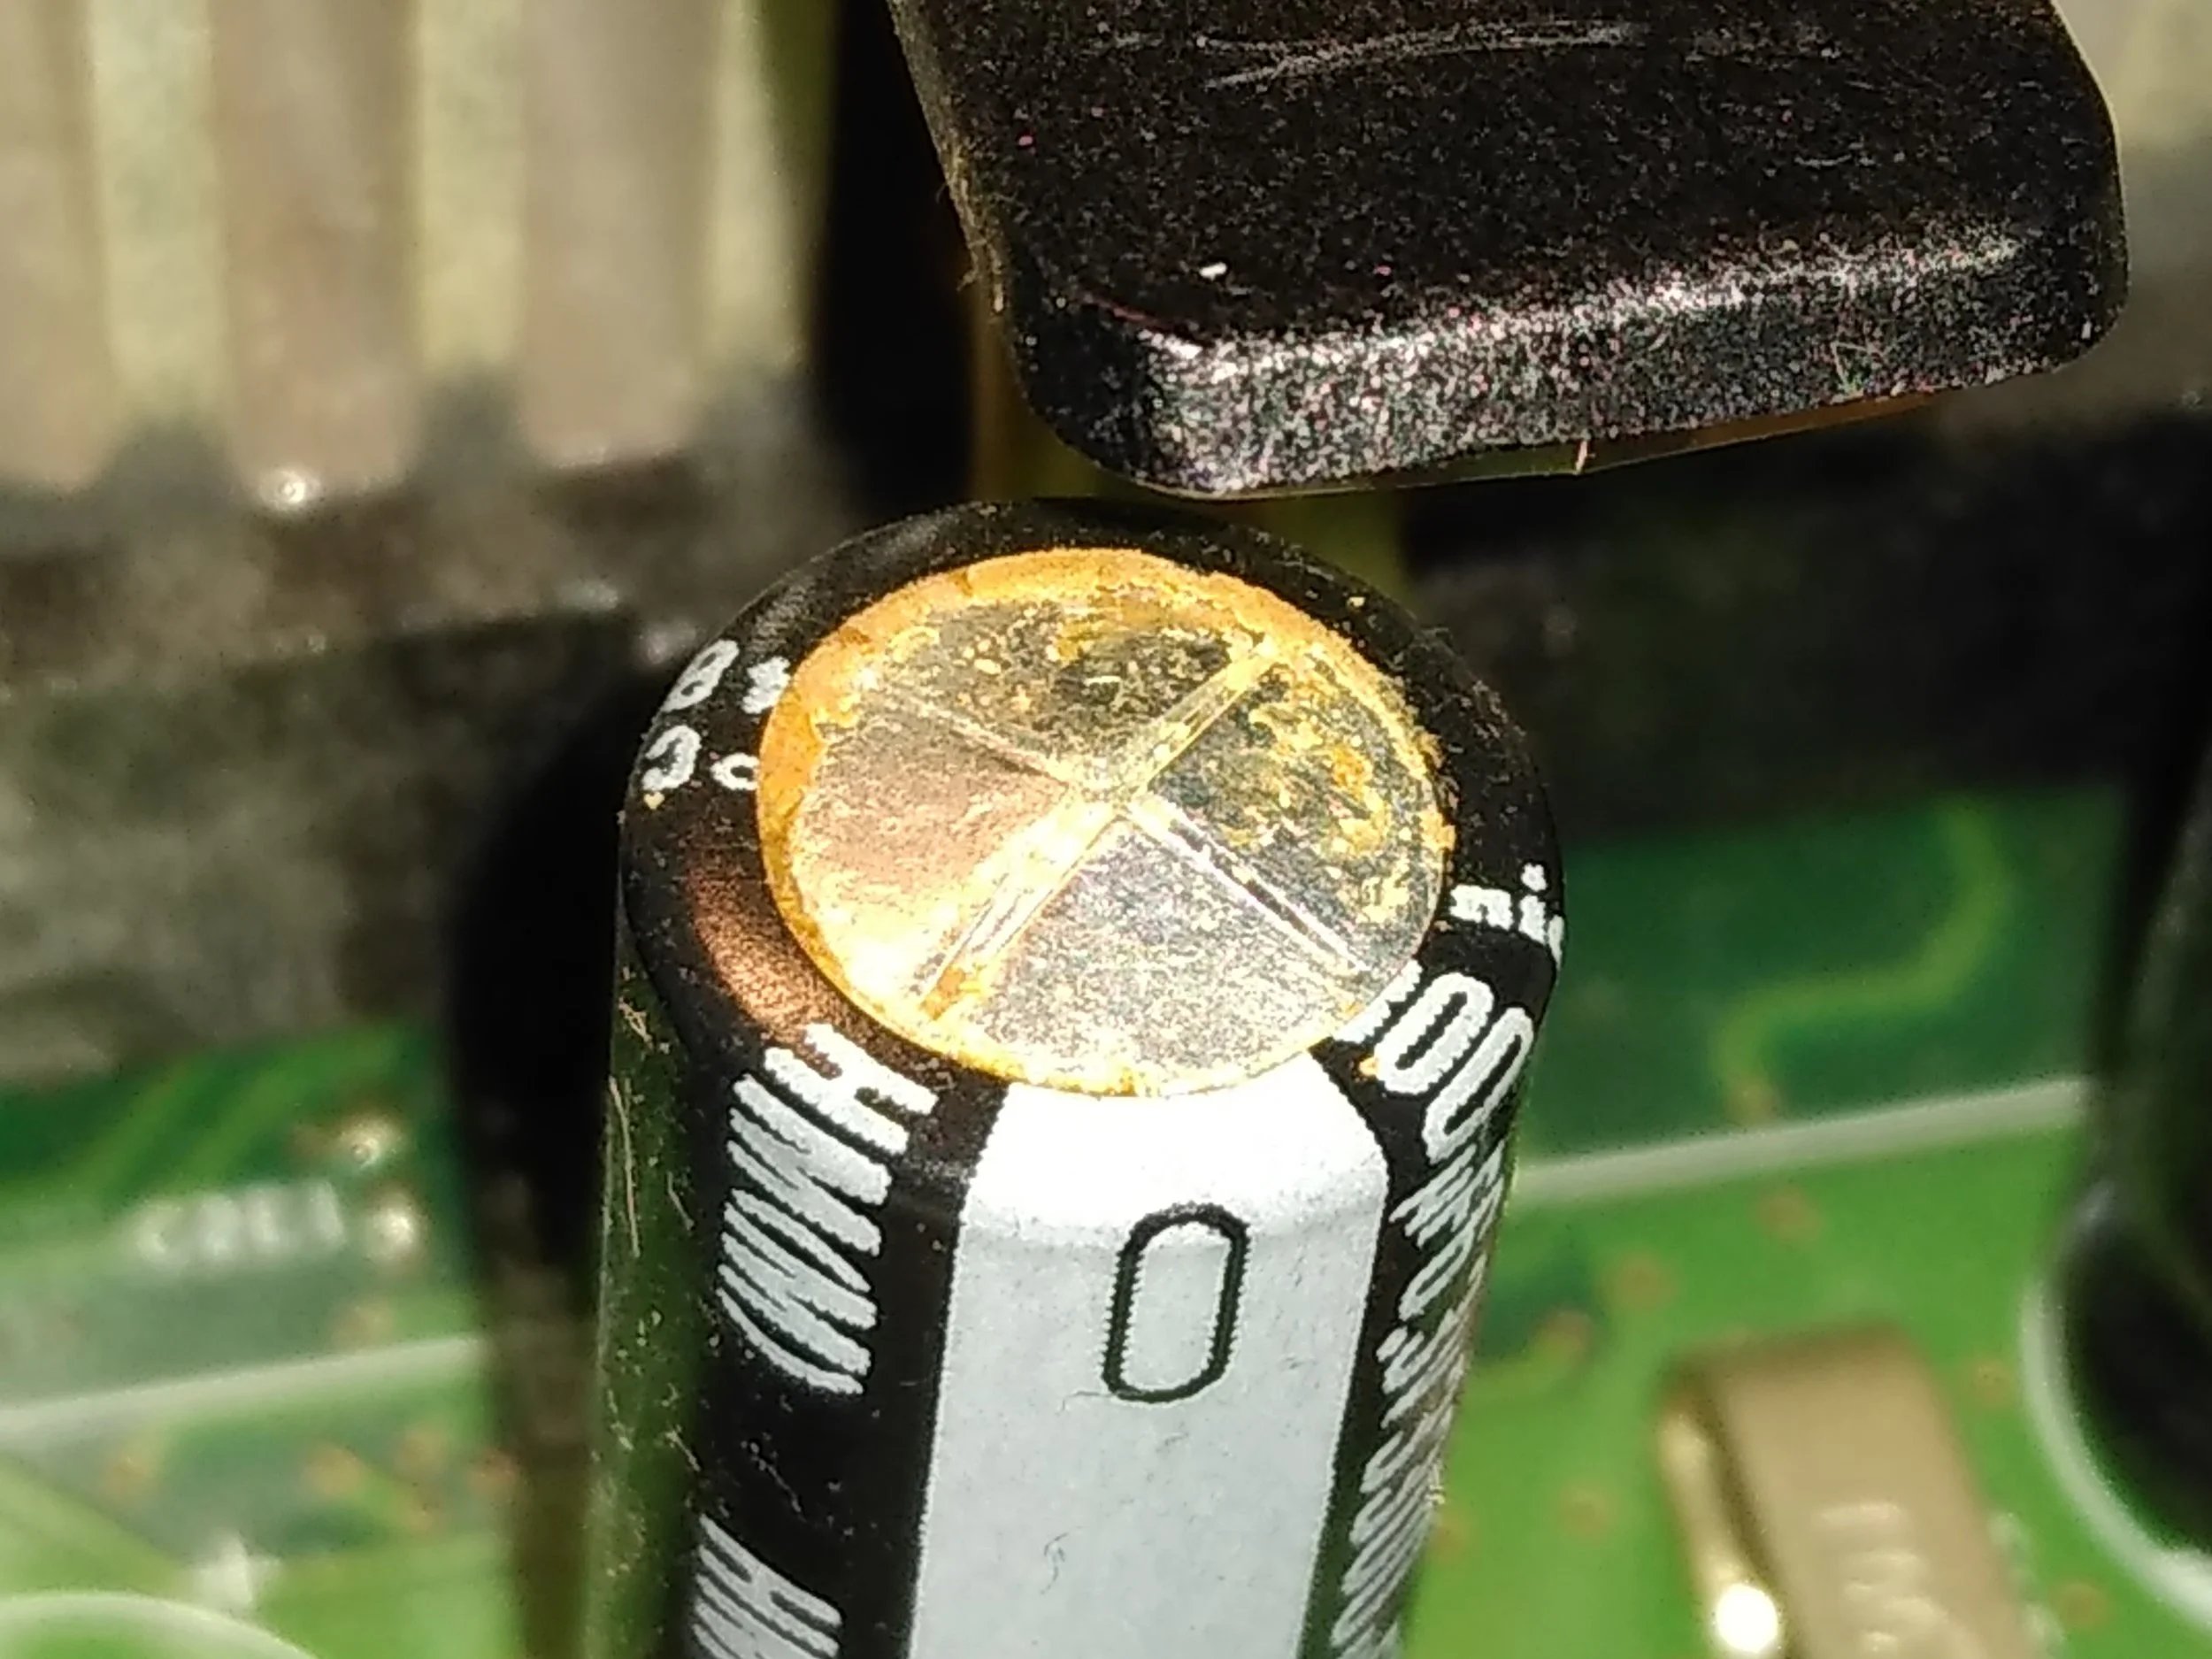


Removing and cleaning up the clock capacitor on an original Xbox is a common maintenance task to prevent leakage and potential damage to the motherboard. Here's a concise process:
Safety First: Unplug the console and discharge any static electricity by grounding yourself.
Disassemble: Open the console to access the motherboard.
Locate the Capacitor: Find the clock capacitor, typically near the power supply header.
Desolder and Remove: Carefully desolder and remove the capacitor using a soldering iron.
Clean Up: Clean the area thoroughly with isopropyl alcohol to remove any residue or leakage.
Inspect and Reassemble: Check for board damage, then reassemble the console if all is clear.
Properly addressing the clock capacitor issue can prolong the console's life and prevent further damage.
